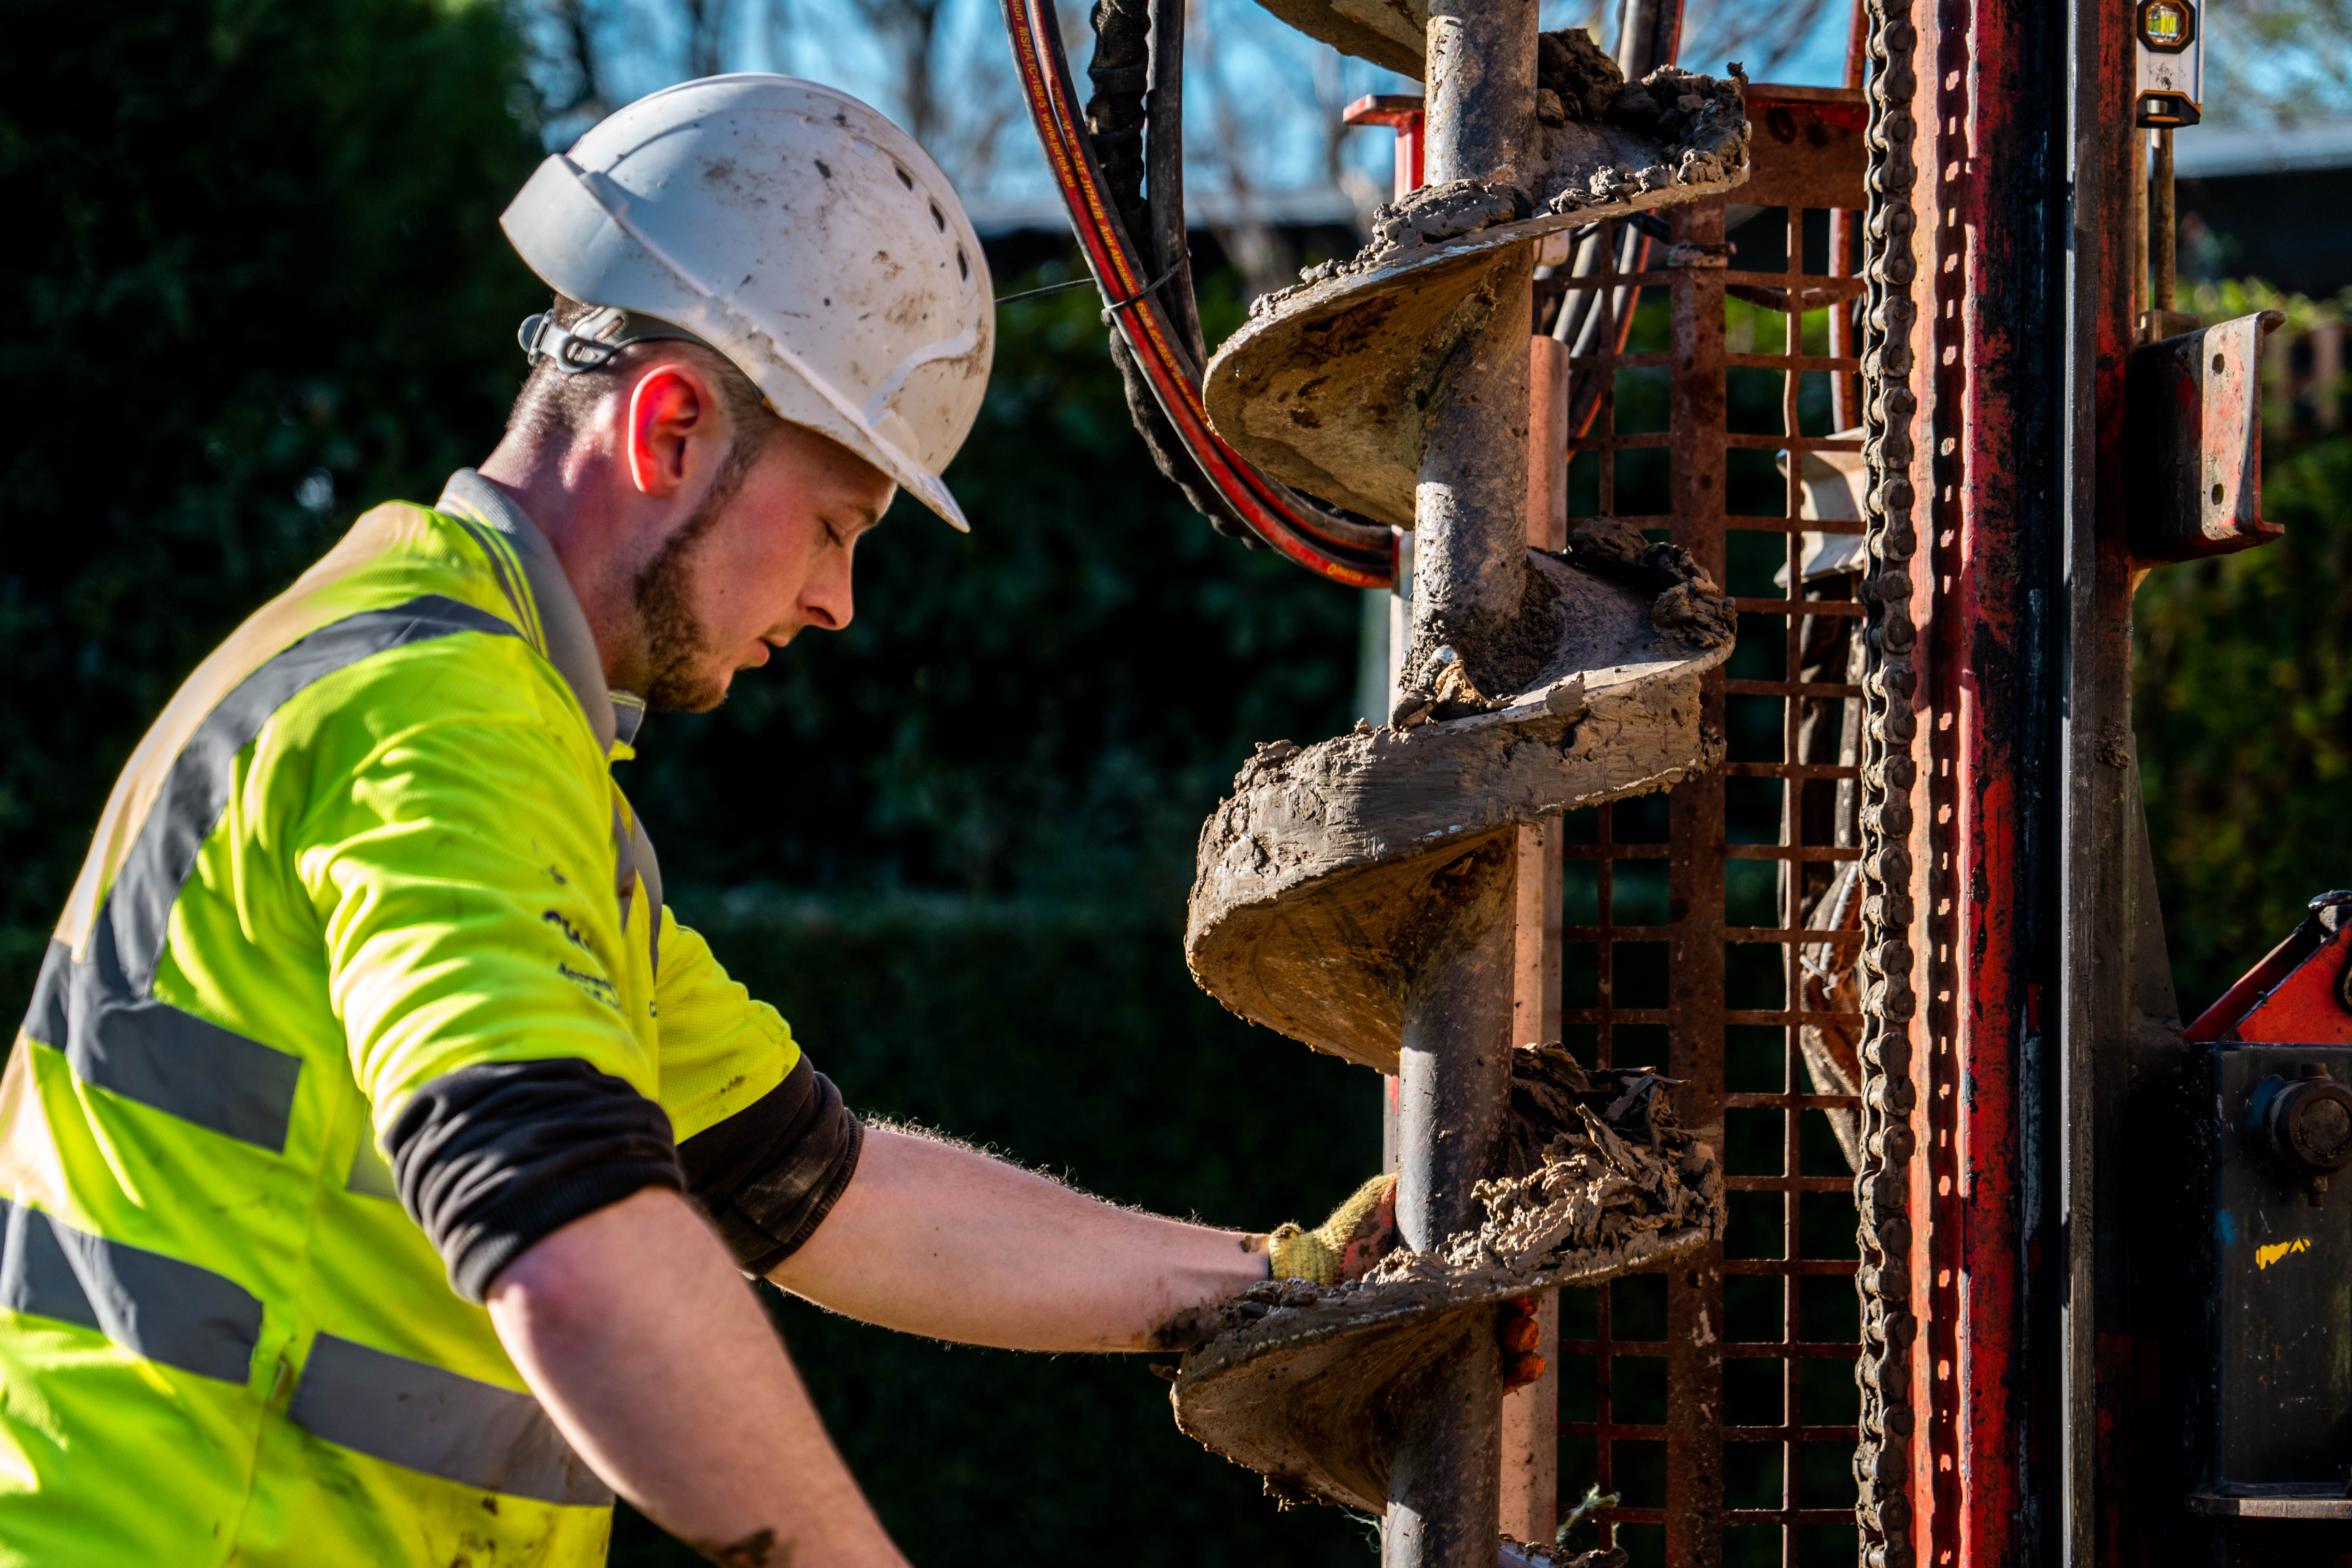
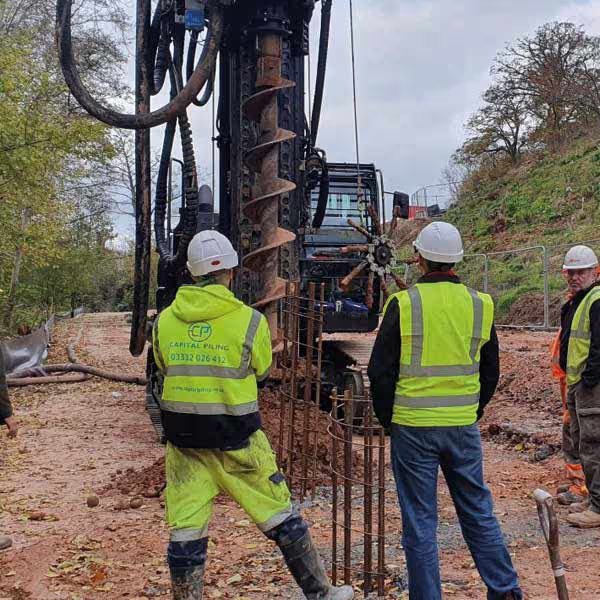
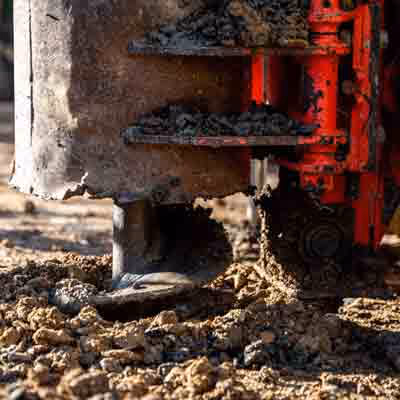
Mini Piling Installation Process
The mini piling installation process follows a controlled sequence designed to ensure piles are installed accurately, safely and to the required depth. While the exact method varies depending on the piling system used, the overall process remains consistent across most projects.
Each stage is focused on achieving a stable foundation by transferring loads into suitable bearing strata beneath the site.
Design and Planning
Before any work begins, the piling system is designed based on available site information, structural loads and ground conditions. This includes determining pile depth, diameter, spacing and the most appropriate installation method.
Where a ground investigation is available, it is used to inform the design. Where it is not, design assumptions are made based on typical ground conditions and refined during installation.
Site Preparation and Setting Out
The working area is prepared to allow safe access for piling equipment. This includes clearing the site, establishing access routes and marking out pile locations in accordance with the design.
Accuracy at this stage is critical, as pile positions directly affect how loads are transferred through the foundation.
Pile Installation
Piles are installed using compact piling rigs suited to the site conditions. Depending on the method selected, piles may be drilled, driven or screwed into the ground.
- Augered systems involve drilling a borehole to the required depth
- Driven systems install piles using impact or pressure
- Screw piles are advanced into the ground using rotational force
The chosen method depends on ground conditions, access and structural requirements.
Reaching Design Depth
Each pile is installed to a predetermined depth or until suitable bearing strata is achieved. This ensures that loads are transferred into stable ground rather than relying on weaker surface soils.
Depth may vary across a site depending on ground conditions encountered during installation.
Reinforcement Placement
Where required, steel reinforcement is inserted into the pile. This may be in the form of a central bar, reinforcement cage or steel casing, depending on the design and piling method.
Reinforcement is used where piles are subject to additional forces such as bending, tension or lateral loading.
Concrete or Grout Placement
Once installed, the pile is filled with concrete or grout to form a solid structural element. In augered systems, this is typically carried out as the auger is withdrawn to maintain stability of the bore.
The material bonds with the surrounding ground and transfers loads effectively through both shaft friction and end bearing.
Pile Cropping
After curing, the tops of the piles are cut back to the required level. This process exposes sound concrete and any reinforcement, preparing the pile for connection to the foundation system.
Correct cropping is essential to ensure a proper structural connection.
Connection to Ground Beams or Slab
Once piles are prepared, they are connected using ground beams or a reinforced concrete slab. This links individual piles together, allowing loads to be distributed across the foundation system rather than acting on isolated points.
This stage completes the transition from individual piles to a functioning structural foundation.
Quality Control During Installation
Throughout the process, checks are carried out to ensure piles are installed to the correct depth, alignment and specification. Ground conditions encountered during installation are also monitored and can influence final design decisions.
This ensures the foundation performs as intended and reduces the risk of issues during later stages of construction.
A Controlled and Adaptable Process
Mini piling is not a fixed process but a controlled system that adapts to site conditions as work progresses. Ground conditions, access and structural requirements all influence how the installation is carried out.
This flexibility is one of the key reasons mini piling is widely used on projects where conditions are uncertain or constrained.
Need More Information?
If you require further guidance on the mini piling installation process or would like to discuss a specific project, a specialist contractor such as Capital Piling can review your drawings and site conditions to advise on the most suitable approach.
Heading 1
Heading 2
Heading 3
Heading 4
Heading 5
Heading 6
Lorem ipsum dolor sit amet, consectetur adipiscing elit, sed do eiusmod tempor incididunt ut labore et dolore magna aliqua. Ut enim ad minim veniam, quis nostrud exercitation ullamco laboris nisi ut aliquip ex ea commodo consequat. Duis aute irure dolor in reprehenderit in voluptate velit esse cillum dolore eu fugiat nulla pariatur.
Block quote
Ordered list
- Item 1
- Item 2
- Item 3
Unordered list
- Item A
- Item B
- Item C
Bold text
Emphasis
Superscript
Subscript
Helpful Information
Supporting information for residential projects, providing clear guidance on foundation solutions, design considerations and what to expect during installation.


